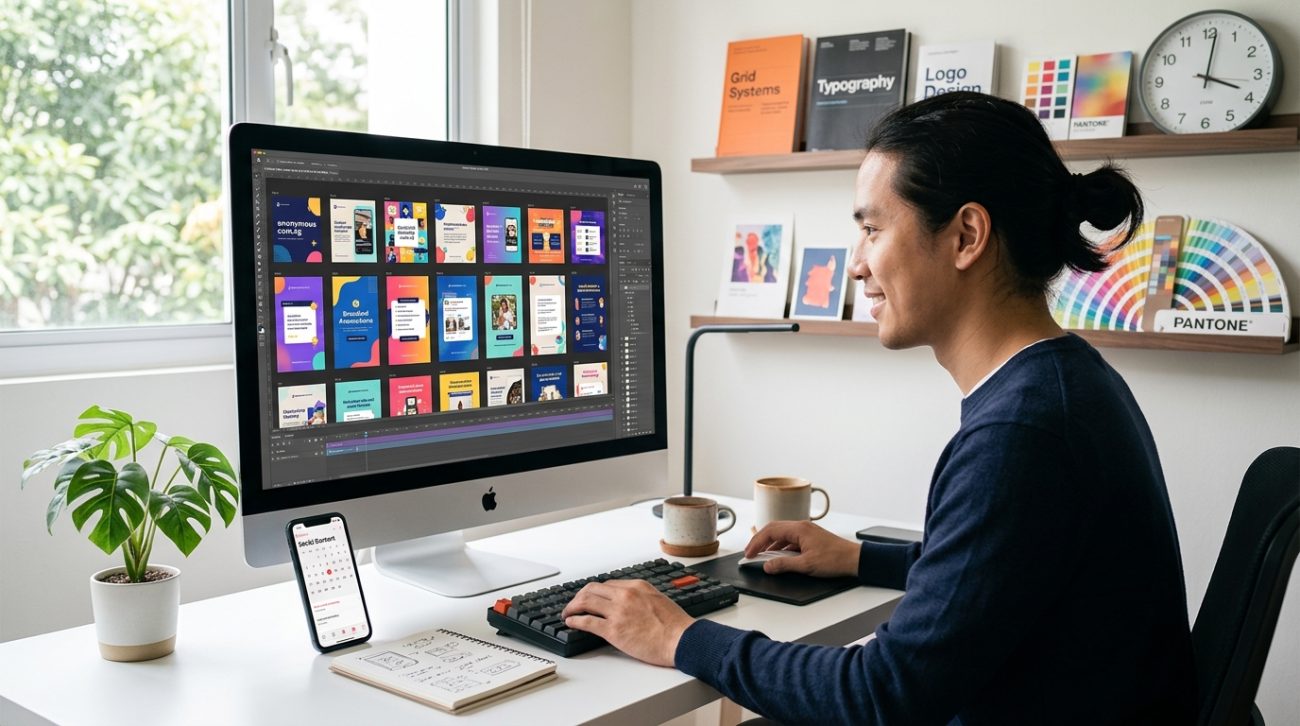
You sit down to post on Instagram, and your mind goes blank. Again. You scramble for an idea, throw together a graphic, write a caption in three minutes, and hit publish. Tomorrow, you’ll do it all over again.
There’s a better way. Batching your social media content means creating multiple posts in one focused session instead of piecing them together daily. It saves mental energy, keeps your brand consistent, and frees up hours every week.
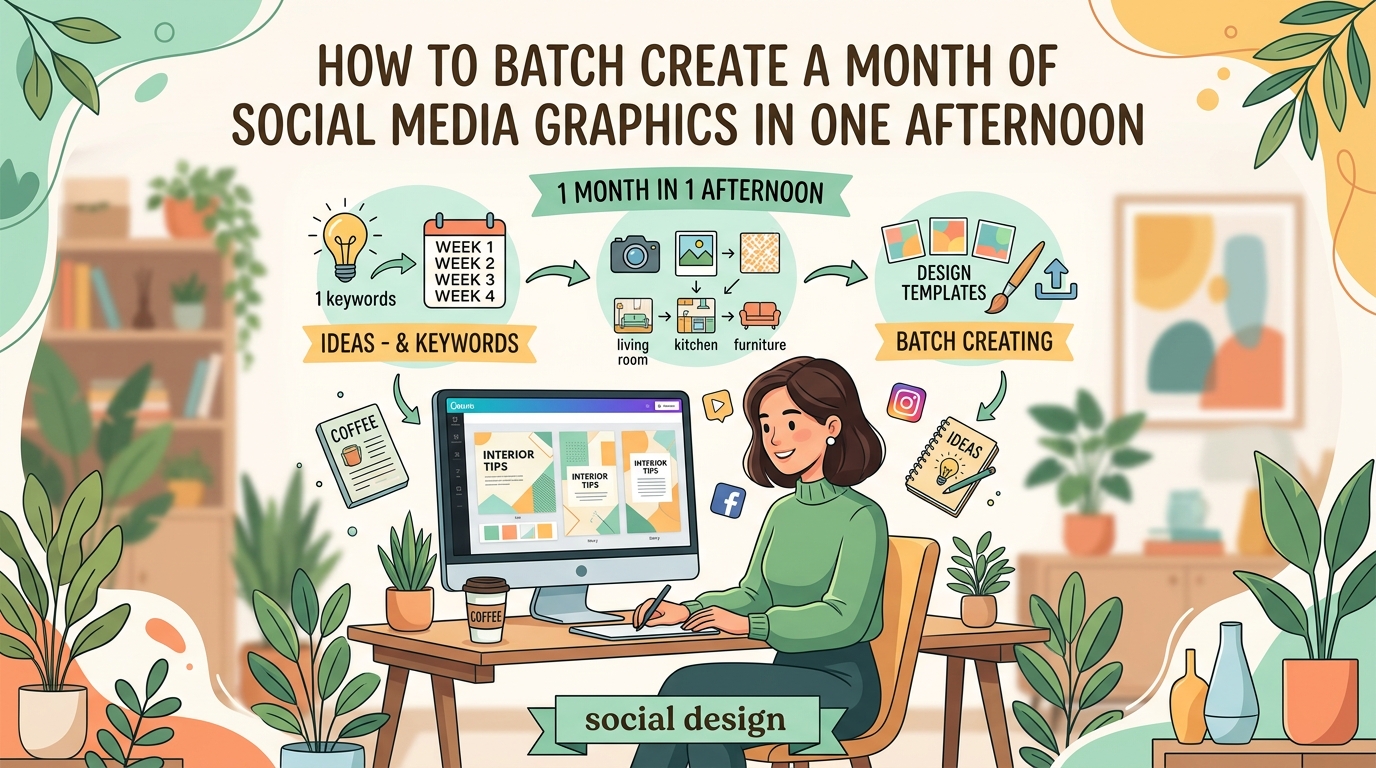
Batch creating social media content means producing multiple posts in a single session instead of daily. This approach saves time, reduces decision fatigue, and ensures visual consistency. By planning themes, designing templates, and scheduling in advance, you can create a full month of content in just a few focused hours.
Why batching works better than daily posting
Creating content every single day drains your creative energy. You switch contexts constantly. You make design decisions from scratch each time. You never build momentum.
Batching flips that script. You make all your strategic decisions once. You open your design tool once. You write all your captions in one sitting. Your brain stays in the same mode, which means faster work and better ideas.
Small business owners and solo content creators see the biggest wins. You’re already juggling client work, admin tasks, and everything else. Batching gives you predictable blocks of time instead of constant interruptions.
Pick your content themes first
Before you open any design software, decide what you’re actually going to talk about. Most people skip this step and wonder why they run out of ideas halfway through the month.
Content themes are the three to five topics you’ll rotate through. A fitness coach might use workout tips, nutrition advice, client wins, mindset shifts, and product features. A bakery might share new flavors, baking tips, behind the scenes moments, customer photos, and seasonal specials.
Write down your themes. Then assign each one a simple visual style or color. This makes your feed cohesive without looking repetitive.
“The biggest mistake I see is people trying to be creative every single day. Pick your lanes early, then fill them with variations.” — Content strategist who manages 40+ brand accounts
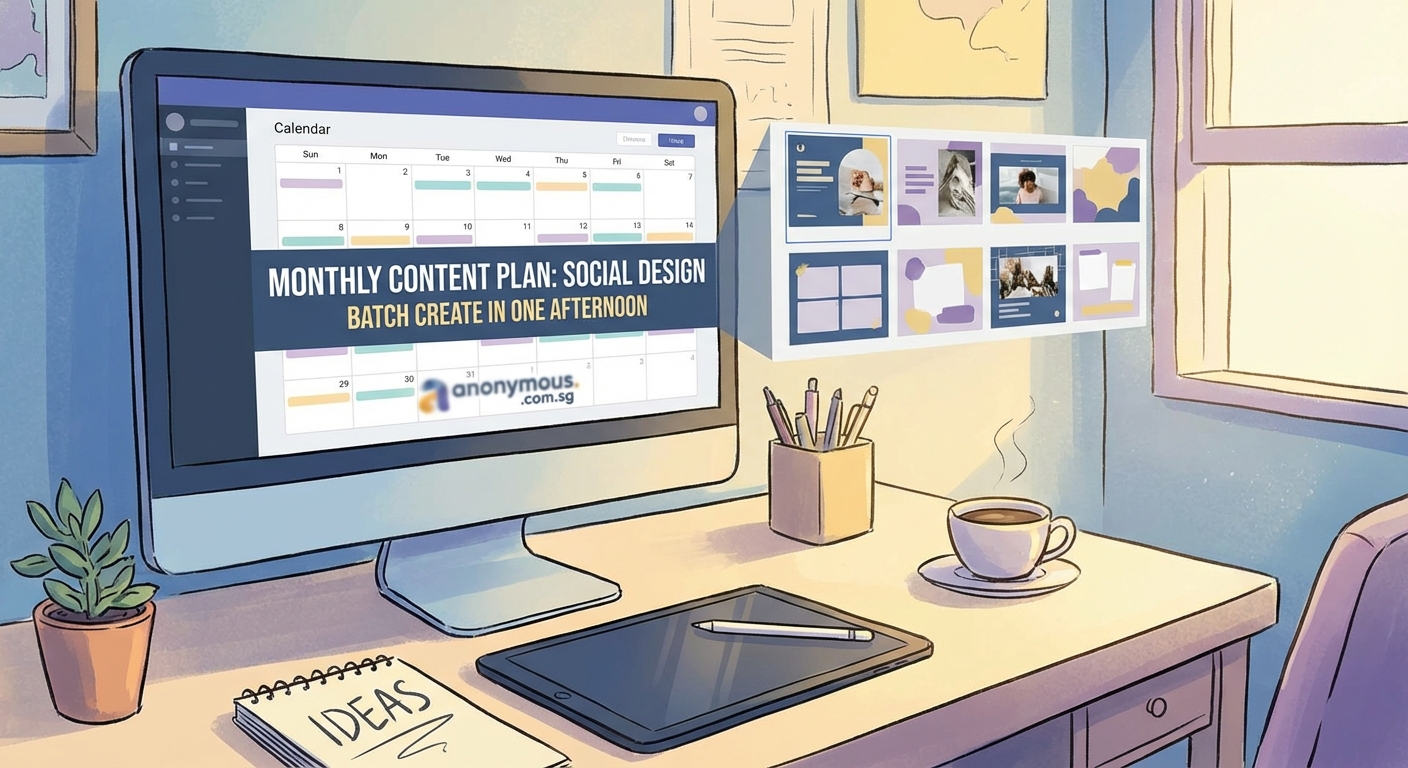
Map out your posting calendar
Grab a calendar view for the month. It can be a spreadsheet, a printable PDF, or a digital planner. You need to see all 30 days at once.
Start by marking any important dates. Product launches. Holidays. Sales. Events. These are your anchor posts.
Then fill in the gaps with your content themes. Aim for variety without overthinking it. Monday might be a tip. Wednesday could be a testimonial. Friday is behind the scenes. Repeat the pattern with different details each week.
Here’s a simple framework:
| Day of Week | Content Type | Theme Example |
|---|---|---|
| Monday | Educational tip | How-to or tutorial |
| Wednesday | Social proof | Customer story or review |
| Friday | Behind the scenes | Process or team photo |
| Sunday | Engagement post | Poll, question, or challenge |
You don’t need to post every day. Three to five times a week works for most small brands. The goal is consistency, not exhaustion.
Write all your captions in one session
Open a document and write every caption back to back. Don’t stop to edit. Don’t second guess your tone. Just get words on the page.
This is where batching really shines. Your writing voice stays consistent because you’re in the same headspace. You avoid the trap of staring at a blank screen every morning.
Include these elements in each caption:
- A hook that grabs attention in the first line
- The main point or story
- A call to action or question at the end
- Relevant hashtags grouped at the bottom
Save each caption with a simple label like “Post 1” or “Monday Week 2” so you can match them to graphics later.
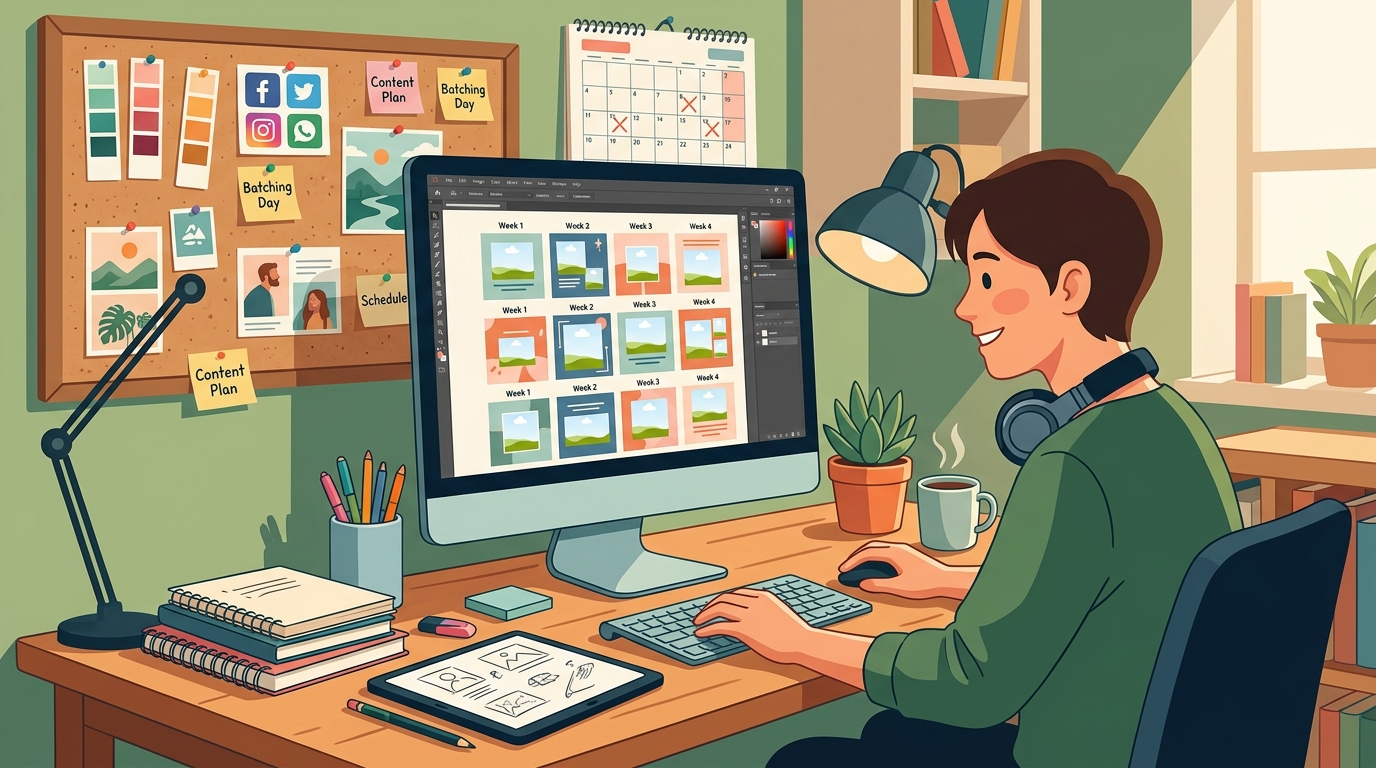
Design your templates once, reuse them everywhere
Templates are the secret to fast, professional looking content. You set up the layout, colors, and fonts once. Then you swap in new text and images for each post.
Start with two or three core templates. One for quotes or tips. One for photos with text overlays. One for announcements or promotions.
Make sure your templates reflect your brand. Use the same fonts every time. Stick to your brand colors that actually convert customers. Keep your logo or watermark in the same spot.
If you’re building templates from scratch, avoid these common mistakes. Don’t cram too much text into one graphic. Don’t use more than two fonts. Don’t ignore typography mistakes that make designs look unprofessional.
Already have brand guidelines? Pull them out and make sure your templates match. If you don’t have guidelines yet, consider building a brand style guide that actually gets used so every piece of content looks intentional.
Batch your photo and video shoots
If your content includes photos of you, your products, or your workspace, shoot everything in one or two sessions. Change your shirt between takes. Move props around. Adjust lighting. You can create the illusion of different days without reshooting constantly.
Plan your shot list before you start. Write down exactly what you need. “Three photos of product on white background. Two photos of me holding product. One flat lay with props.”
Shoot more than you think you’ll need. Extra images give you flexibility when you’re assembling posts later.
For video content, the same rules apply. Record multiple clips in one sitting. Use different backdrops or outfits to add variety. Trim and edit them all at once instead of opening your video software every few days.
Create all your graphics in one batch
Now you have your captions, your templates, and your images. Time to put them together.
Open your design tool and duplicate your template for however many posts you need. Then work through them assembly line style.
- Drop in the background image or color
- Add the main text from your caption list
- Adjust spacing and alignment
- Export and label the file clearly
Don’t stop to perfect each one. You’ll lose momentum. Get them all to 80% done, then go back and polish if needed.
If you’re designing eye-catching Instagram carousel posts, create all the slides for one post before moving to the next. It’s easier to keep the flow consistent.
Save your files with clear names. “Week1_Monday.png” is better than “IMG_4738.png” when you’re scheduling later.
Schedule everything in advance
Scheduling tools let you load all your posts at once and forget about them. Most platforms let you upload images, paste captions, add hashtags, and pick the exact date and time.
Popular options include Later, Buffer, Planoly, and Meta Business Suite for Facebook and Instagram. Pick one that connects to the platforms you actually use.
Load your posts in chronological order. Double check that captions match graphics. Preview how your grid will look if you’re on Instagram.
Set your posting times based on when your audience is online. Most scheduling tools show you analytics. If you’re just starting, try mid-morning and early evening as a baseline.
What to do when you hit creative blocks
Even with a solid plan, you’ll have days when ideas don’t flow. Keep a running list of content ideas in your notes app. When you see a competitor’s post that works, screenshot it. When a customer asks a great question, write it down.
Repurpose your best performing content. If a post got great engagement three months ago, recreate it with a fresh angle or updated visuals. Your audience won’t remember, and new followers definitely haven’t seen it.
User generated content is another lifesaver. Ask customers to tag you in photos. Reshare testimonials. Feature community wins. It fills your calendar and builds social proof at the same time.
Common batching mistakes and how to avoid them
| Mistake | Why It Happens | How to Fix It |
|---|---|---|
| Creating too much at once | Overestimating your energy | Start with one week, not a full month |
| Ignoring trends and current events | Planning too rigidly | Leave 20% of your calendar open for spontaneous posts |
| Using the same image repeatedly | Running out of visuals | Shoot double the photos you think you need |
| Forgetting to review before publishing | Setting and forgetting | Check your scheduled posts every Friday |
| Making templates too complicated | Trying to impress instead of communicate | Simpler designs perform better and save time |
How to keep your content feeling fresh
Batching doesn’t mean robotic. You can still sound human and timely even when you created everything two weeks ago.
Leave room for real time updates. If something happens in your industry or community, pause your schedule and post about it. Your batched content can wait a day.
Engage with comments and messages daily. Even if your posts are pre scheduled, your responses should be live and genuine.
Rotate your templates every month or quarter. Small tweaks keep your feed from looking stale. Change background colors. Swap fonts. Try a new layout style.
Tools that make batching easier
You don’t need expensive software to batch effectively. Start with what you have and upgrade only when you hit real limitations.
For design, Canva is the most accessible option for beginners. It has templates, brand kits, and batch export features. Figma works well if you want more control. Adobe Express sits somewhere in the middle.
For planning, a simple Google Sheet works. List your dates, themes, captions, and image file names in columns. You can see everything at a glance.
For scheduling, start with free tiers. Most platforms give you enough features to schedule 10 to 30 posts without paying.
If you want free Canva template alternatives, there are plenty of resources that give you ready made starting points.
Your first batching session step by step
Here’s how to actually do this, start to finish, in one focused afternoon.
Hour 1: Planning
– Choose your content themes
– Map out 12 to 20 posts on a calendar
– Write down any key dates or promotions
Hour 2: Writing
– Write all captions in one document
– Add hashtags and calls to action
– Label each caption clearly
Hour 3: Shooting
– Gather props and products
– Take all photos or videos you’ll need
– Shoot extras for flexibility
Hour 4: Designing
– Open your templates
– Create all graphics in batch mode
– Export and name files clearly
Hour 5: Scheduling
– Upload everything to your scheduling tool
– Double check captions match images
– Set posting times and dates
You might not finish everything in five hours the first time. That’s fine. You’ll get faster with practice.
Adjusting your batch workflow over time
Pay attention to what works. If writing captions feels slow, try voice recording your ideas first and transcribing them later. If designing takes forever, invest in better templates or simplify your layouts.
Track which content types get the best response. If behind the scenes posts always outperform tips, shift your calendar to include more of them.
Set a recurring date to batch. Some people do it the last Friday of every month. Others prefer Sunday afternoons. Pick a time when you have energy and stick to it.
Making batching work when you’re a team of one
Solo creators often think batching is only for big teams with resources. Not true. You’re actually the perfect candidate because you can’t afford to waste time on daily content scrambles.
Start smaller than you think you need to. Four posts is better than zero. One week is better than one day.
Protect your batching time like a client meeting. Block it on your calendar. Turn off notifications. Treat it as non negotiable work time.
Batch other tasks too. If you’re already in content mode, write your newsletter. Record a podcast episode. Update your website copy. Momentum builds across all your marketing.
When batching isn’t the right move
Some content types don’t batch well. Real time updates, trending audio on Reels, or response posts to current events need to stay flexible.
Reserve 20 to 30% of your calendar for spontaneous content. This keeps your feed feeling alive without forcing you to create from scratch every day.
If your industry moves extremely fast, batch in shorter cycles. Two weeks instead of four. One week if things change daily. The principle still works even if the timeline shrinks.
Turning batched content into a system
Once you’ve batched successfully a few times, document your process. Write down the exact steps you follow. Note which tools you use and where you save files.
This turns batching from a one time experiment into a repeatable system. You stop reinventing the process every month.
If you ever hire help or bring on a contractor, your documented system becomes their training manual. They can follow your process without constant questions.
Your content calendar is a living tool
Don’t treat your batched content as set in stone. Review it weekly. If a post doesn’t feel right anymore, swap it out. If you have a better idea, use it.
The goal isn’t perfection. It’s consistency with less stress. Batching gives you a foundation so you’re never starting from zero, even when life gets chaotic.
You’ll still have creative ideas throughout the month. Great. Add them to your idea list for the next batching session. Or use them to replace a scheduled post if they’re time sensitive.
Making your batched content actually get seen
Creating the content is only half the work. You also need people to see it.
Post at times when your audience is active. Use relevant hashtags that aren’t oversaturated. Engage with other accounts in your niche so the algorithm notices you.
Repurpose your batched posts across platforms. That Instagram graphic can become a LinkedIn post, a Pinterest pin, and a Facebook update with minor tweaks.
Save your best performing content and recreate it in future batches. If a post about a specific topic always does well, make it a monthly feature with fresh examples.
Stop creating content on autopilot
Batching isn’t about removing yourself from the process. It’s about being more intentional with your time and energy.
You’ll show up more consistently. Your brand will look more professional. You’ll have mental space to actually run your business instead of constantly wondering what to post next.
Start with one week. Map it out. Create the posts. Schedule them. See how it feels to wake up knowing your content is handled. Then build from there.