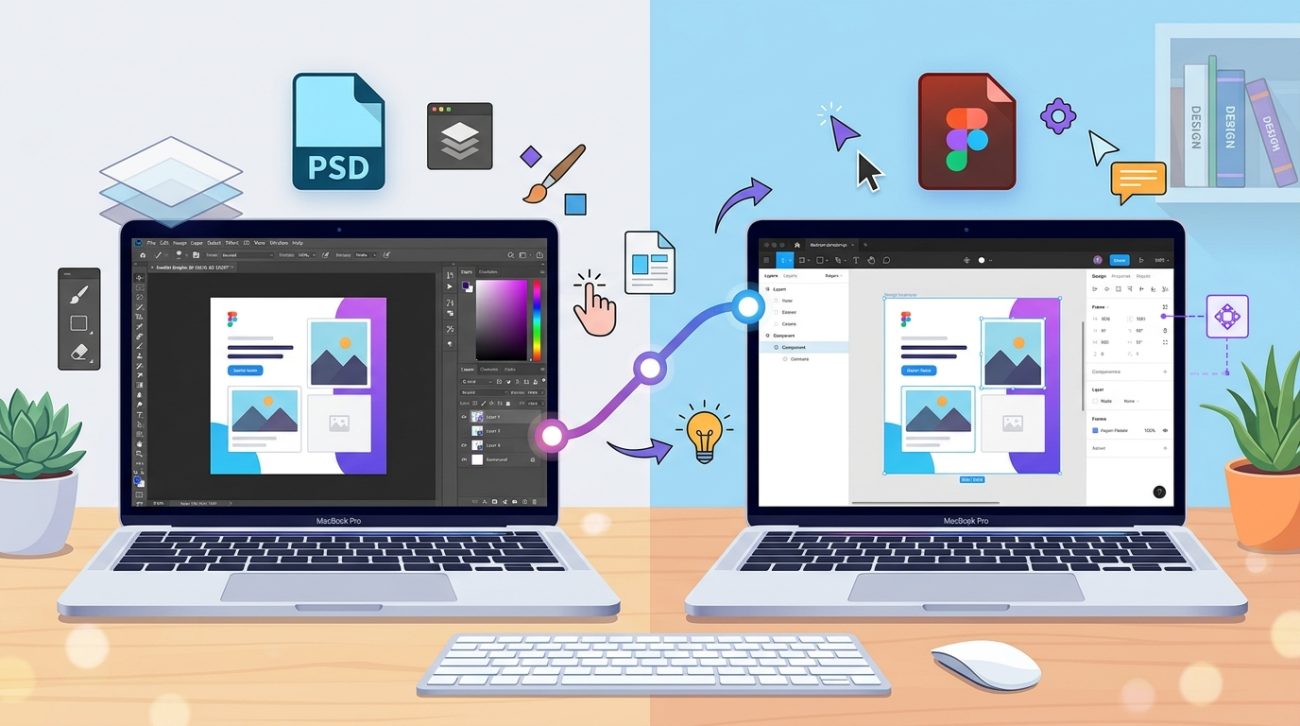
You’ve downloaded a beautiful Figma template, opened the file, and now you’re staring at a screen full of panels, layers, and tools you’ve never seen before.
Don’t panic.
Figma looks intimidating at first, but it’s actually one of the most beginner-friendly design tools available. Once you understand the basics, you’ll be editing templates and creating your own designs faster than you think.
Figma is a [browser-based design tool](https://en.wikipedia.org/wiki/Figma_(software)) that lets you create and edit visual designs without installing software. This guide walks you through setting up your account, understanding the interface, using essential tools, and customizing templates. You’ll learn the frame system, layers panel, basic shapes, text formatting, and how to export your finished work for web or print use.
Getting started with your Figma account
Figma runs entirely in your browser.
No downloads. No installations. No waiting.
Head to figma.com and sign up for a free account. You can use your email or sign in with Google.
The free plan gives you everything you need to learn. You get unlimited personal files, access to community templates, and the ability to work on up to three projects at once.
Once you’re logged in, you’ll land on your home screen. This is where all your files live.
Think of it like a folder system. You can create new files, organize them into projects, and access anything you’ve worked on recently.
Understanding the Figma interface

When you open a new file, you’ll see three main areas.
The toolbar runs across the top. This is where you’ll find all your tools for creating shapes, adding text, and selecting objects.
The canvas sits in the middle. This is your workspace. It’s infinite, so you can zoom out as far as you want and never run out of space.
The panels stack on the left and right sides. The left panel shows your layers (everything in your design). The right panel shows properties for whatever you’ve selected.
Here’s what each tool in the top toolbar does:
- Move tool (V): Select and move objects around
- Frame tool (F): Create containers for your designs
- Shape tools (R, O, L): Draw rectangles, circles, and lines
- Pen tool (P): Create custom shapes and icons
- Text tool (T): Add and edit text
- Hand tool (H): Pan around the canvas
- Comment tool (C): Leave notes for collaborators
You can click these tools or use the keyboard shortcuts in parentheses.
Most beginners stick to the move, frame, shape, and text tools at first. That’s perfectly fine.
Working with frames instead of artboards
Frames are Figma’s version of artboards.
They’re containers that hold your design elements. You can think of them like pages in a document or slides in a presentation.
To create a frame, press F or click the frame tool in the toolbar.
The right panel will show preset sizes for common devices. iPhone screens. Desktop monitors. Social media posts. Business cards.
Click any preset and a frame appears on your canvas.
You can also drag to create a custom-sized frame. Just click and drag anywhere on the canvas.
Frames can nest inside other frames. This is useful when you’re building complex layouts like websites or apps.
For now, start with one frame per design. Keep it simple.
Navigating the layers panel
Every object you create appears in the layers panel on the left.
Layers stack from bottom to top. The item at the bottom of the list sits behind everything else. The item at the top sits in front.
You can drag layers up and down to change the stacking order.
Click the arrow next to a frame to expand it and see everything inside. This is where you’ll find all your shapes, text, and images.
Rename your layers by double-clicking them. Instead of “Rectangle 1” and “Rectangle 2,” use names like “header background” and “button.”
Future you will be grateful.
You can also group related items together. Select multiple layers (hold Shift and click), then press Command+G (Mac) or Ctrl+G (Windows).
Groups keep your layers panel organized, especially when you’re working with templates that have dozens of elements.
Creating and editing basic shapes
Shapes are the building blocks of most designs.
Press R for rectangles, O for circles, or L for lines.
Click and drag on the canvas to draw your shape. Hold Shift while dragging to keep proportions perfect (like a true circle or square).
Once you’ve drawn a shape, the right panel shows all its properties.
Fill controls the inside color. Click the color square to open the color picker. You can use solid colors, gradients, or even images.
Stroke adds an outline. Click the plus icon next to Stroke, then adjust the color and thickness.
Corner radius rounds the corners of rectangles. Increase the number to make buttons and cards look softer.
Effects add shadows and blurs. These make designs feel more polished and professional.
Want to change a shape’s size? Select it and look at the W and H fields in the right panel. Type in exact dimensions or drag the handles on the canvas.
You can also rotate shapes. Select the shape, then drag the circular handle that appears just outside the corner.
Adding and formatting text
Press T to activate the text tool.
Click anywhere on the canvas and start typing.
The right panel shows all your text options. Font family. Size. Weight. Line height. Letter spacing.
Figma includes a handful of free fonts, but you can also use any Google Font. Click the font dropdown, search for what you want, and it loads instantly.
If you’re working with templates, the text is already styled. Just click inside the text box and type your own words.
Here are the text properties you’ll use most:
- Font size: Makes text bigger or smaller
- Font weight: Changes from light to bold
- Line height: Controls space between lines (use 1.5 for body text)
- Letter spacing: Adjusts space between letters (useful for headlines)
- Alignment: Left, center, right, or justified
You can also change text color the same way you change shape fills. Select the text, find Fill in the right panel, and pick a new color.
Want to reuse the same text style across multiple elements? Figma has text styles for that, but we’ll save that for when you’re more comfortable with the basics.
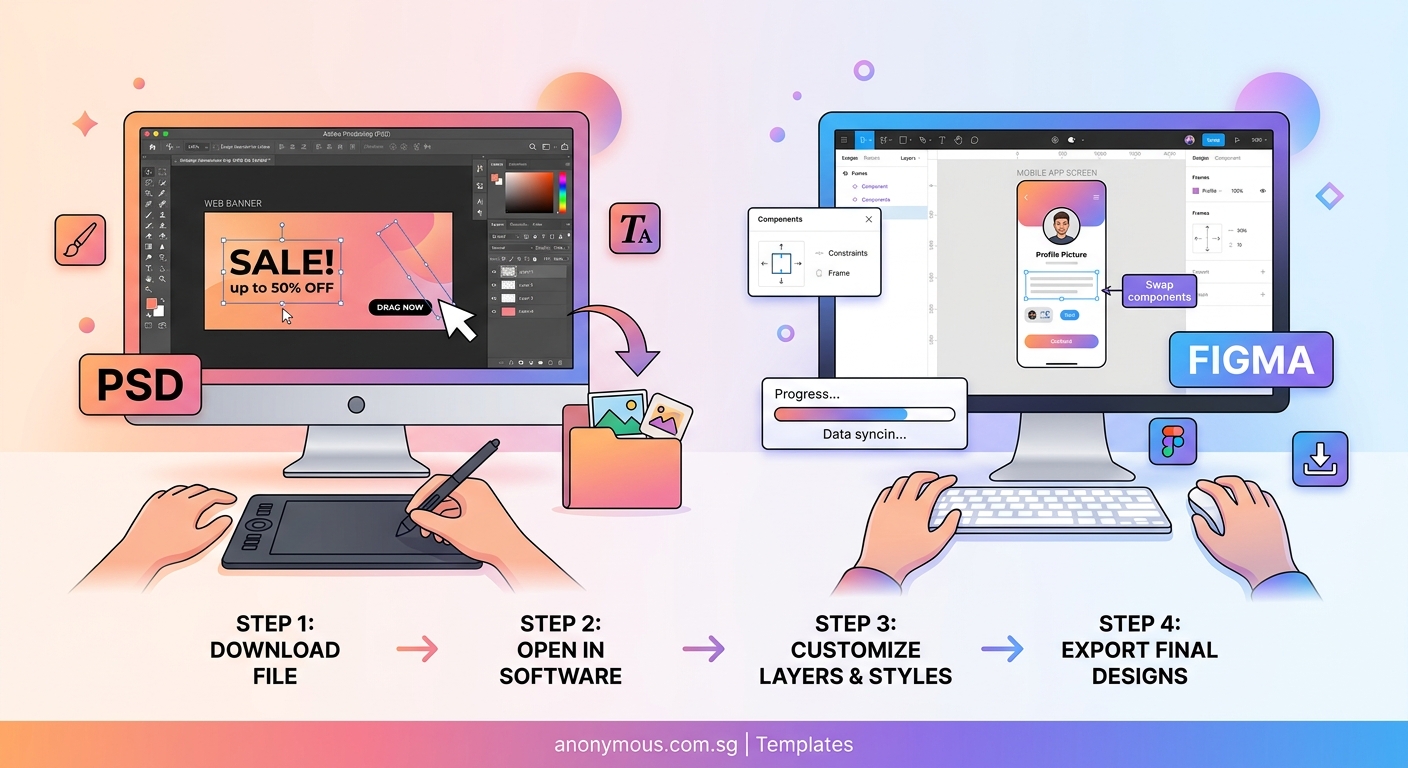
Opening and customizing templates
Most beginners start with templates.
Templates give you a professional starting point. You swap out the placeholder content with your own text, colors, and images.
To open a template, look for the “Community” tab in Figma’s home screen. Search for what you need. Social media posts. Presentation decks. Website mockups.
Click a template you like, then click “Duplicate” in the top right. This copies the file to your account so you can edit it.
Once it’s open, here’s how to customize it:
- Replace text: Click any text box and type your own words
- Change colors: Select a shape, find Fill in the right panel, and pick a new color
- Swap images: Right-click an image, choose “Replace image,” and upload your own
- Adjust spacing: Drag elements around to match your layout preferences
The key is to work slowly. Change one thing at a time. Save often (Figma auto-saves, but you can also press Command+S).
If you want your designs to look cohesive across different projects, consider building a brand style guide that actually gets used so your colors, fonts, and spacing stay consistent.
Using components to speed up your workflow
Components are reusable elements.
Think of them like stamps. You create one button design, turn it into a component, and then use copies of it throughout your file.
When you update the original component, all the copies update automatically.
To create a component, select any object (or group of objects), then press Option+Command+K (Mac) or Ctrl+Alt+K (Windows).
The object gets a purple outline. That means it’s now a component.
To use it, press Option (Mac) or Alt (Windows) and drag the component. This creates an instance.
Instances stay linked to the main component. Change the main component’s color, and all instances change too.
You can override specific properties on instances. For example, you might keep the button shape the same but change the text on each button.
Templates often come with pre-built components. Look for items with purple outlines in the layers panel.
Organizing your design with alignment and spacing
Professional designs look clean because everything lines up.
Figma has built-in tools to help with this.
Select multiple objects, then look at the top toolbar. You’ll see alignment buttons. Align left. Align center. Distribute evenly.
These tools save you from manually dragging things into place.
Auto Layout takes this further. It’s a special type of frame that automatically arranges its children with consistent spacing.
Select a frame, then click the plus icon next to “Auto Layout” in the right panel.
Now when you add or remove items, the frame resizes and everything stays evenly spaced.
Auto Layout is perfect for buttons, navigation bars, and card layouts.
It takes a bit of practice, but once you understand it, you’ll use it everywhere.
Choosing and applying colors effectively
Color makes or breaks a design.
Figma’s color picker has several modes. Solid. Linear gradient. Radial gradient. Image fill.
For beginners, stick with solid colors.
Click the color square in the Fill section. You can drag around the color picker or type in exact values.
Hex codes are the most common. They look like #FF5733. If you have brand colors, you’ll usually get them as hex codes.
You can also save colors as styles. Pick a color, click the four-dot icon next to Fill, and choose “Create style.”
Name it something useful like “primary blue” or “background gray.”
Now you can apply that exact color to any object without remembering the hex code.
If you’re struggling to pick colors that work together, check out these free color palette generators to find combinations that actually look good.
Understanding what makes color contrast work will also help you create designs that are both beautiful and readable.
Adding images to your designs
Figma handles images in two ways.
You can drag an image file directly onto the canvas. This creates a new layer with that image.
Or you can use an image as a fill. Select any shape, click the Fill color square, choose Image, and upload your file.
The second method is more flexible. You can crop images by adjusting the shape, and you can layer multiple images inside frames.
To replace an image, right-click it and choose “Replace image.”
Figma supports JPG, PNG, GIF, and SVG files. SVGs are vector graphics, so they stay sharp at any size. Use them for logos and icons.
For photos, use JPG or PNG. Keep file sizes reasonable. Huge images slow down your file.
If you’re designing for print, you’ll want to understand how color modes work differently between screen and paper.
Exporting your finished designs
When your design is ready, you need to get it out of Figma.
Select the frame or object you want to export. Look at the bottom of the right panel for the Export section.
Click the plus icon to add an export setting.
You’ll see format options:
- PNG: Best for web graphics with transparency
- JPG: Best for photos and designs without transparency
- SVG: Best for logos and icons that need to scale
- PDF: Best for print or presentations
Choose your format, then click “Export.”
You can also export at different sizes. Add “2x” or “3x” to create high-resolution versions for retina screens.
For social media, export at the exact dimensions the platform requires. Instagram posts are 1080×1080. Facebook covers are 820×312.
If you’re preparing files for professional printing, read up on export settings that affect print quality before you send anything to the printer.
Common beginner mistakes and how to avoid them
Here are the issues most new Figma users run into.
| Mistake | Why it happens | How to fix it |
|---|---|---|
| Objects won’t select | You’re clicking inside a frame instead of the object | Look at the layers panel and click the exact layer name |
| Text looks blurry | You’re zoomed out too far | Zoom to 100% to see real quality |
| Colors don’t match | You’re using RGB for print files | Check if you need CMYK instead |
| Spacing looks uneven | You’re eyeballing instead of measuring | Use the alignment tools and check pixel values |
| File feels slow | Too many high-res images | Compress images before importing |
| Can’t find a layer | Layers panel is collapsed or messy | Expand frames and rename layers clearly |
The biggest mistake? Trying to learn everything at once.
Focus on one skill per project. Master frames, then move to components. Get comfortable with text before you worry about advanced features.
Keyboard shortcuts that save time
You don’t need to memorize every shortcut.
But these ten will speed up your work immediately:
- V = Move tool
- F = Frame tool
- R = Rectangle
- O = Ellipse
- T = Text
- Command/Ctrl + D = Duplicate
- Command/Ctrl + G = Group
- Command/Ctrl + / = Show or hide UI
- Space + drag = Pan around canvas
- Command/Ctrl + 0 = Zoom to fit
Print this list and keep it next to your computer for the first week.
After that, they’ll become muscle memory.
Finding help when you’re stuck
Figma has a built-in help menu.
Press Command+/ (Mac) or Ctrl+/ (Windows) to open it. Type what you’re trying to do and it’ll show you how.
The Figma Community is also full of free resources. Tutorials. Plugins. Templates. Design systems.
YouTube has hundreds of Figma tutorials. Search for the specific thing you’re stuck on. “How to create a button in Figma.” “How to use Auto Layout.”
Most videos are under ten minutes.
If you’re working on UI projects, learning about essential UI components will give you a solid foundation for building interfaces.
Building confidence through practice projects
The best way to learn Figma is to use it.
Start with small, real projects. Don’t just follow tutorials. Make something you actually need.
Here are five beginner-friendly projects:
- Business card: Simple layout, limited elements, forces you to think about spacing
- Social media post: Teaches you about image fills and text placement
- Email signature: Good practice with alignment and linking
- Simple website mockup: Introduces frames and component reuse
- Presentation slide deck: Builds comfort with multiple artboards
Each project should take 30 to 60 minutes.
Don’t aim for perfection. Aim for completion.
You’ll learn more from finishing five rough projects than from endlessly tweaking one design.
If you need templates to start from, look into where professional designers find free templates to give yourself a head start.
Your first week with Figma
Learning a new tool feels overwhelming.
But Figma is designed for beginners. The interface makes sense once you spend a few hours with it. The tools do what you expect them to do.
Start with templates. Customize them. Break them. See what happens when you change things.
Then try building something simple from scratch. A button. A card. A header.
You don’t need to become an expert overnight. You just need to get comfortable enough to bring your ideas to life.
The rest comes with practice.