
You post on social media every day. Maybe multiple times. And every single time, you start from scratch.
You open your design tool. You wonder what size to make it. You pick colors that feel right. You choose fonts. You move things around until it looks decent. Then you do it all over again tomorrow.
There’s a better way.
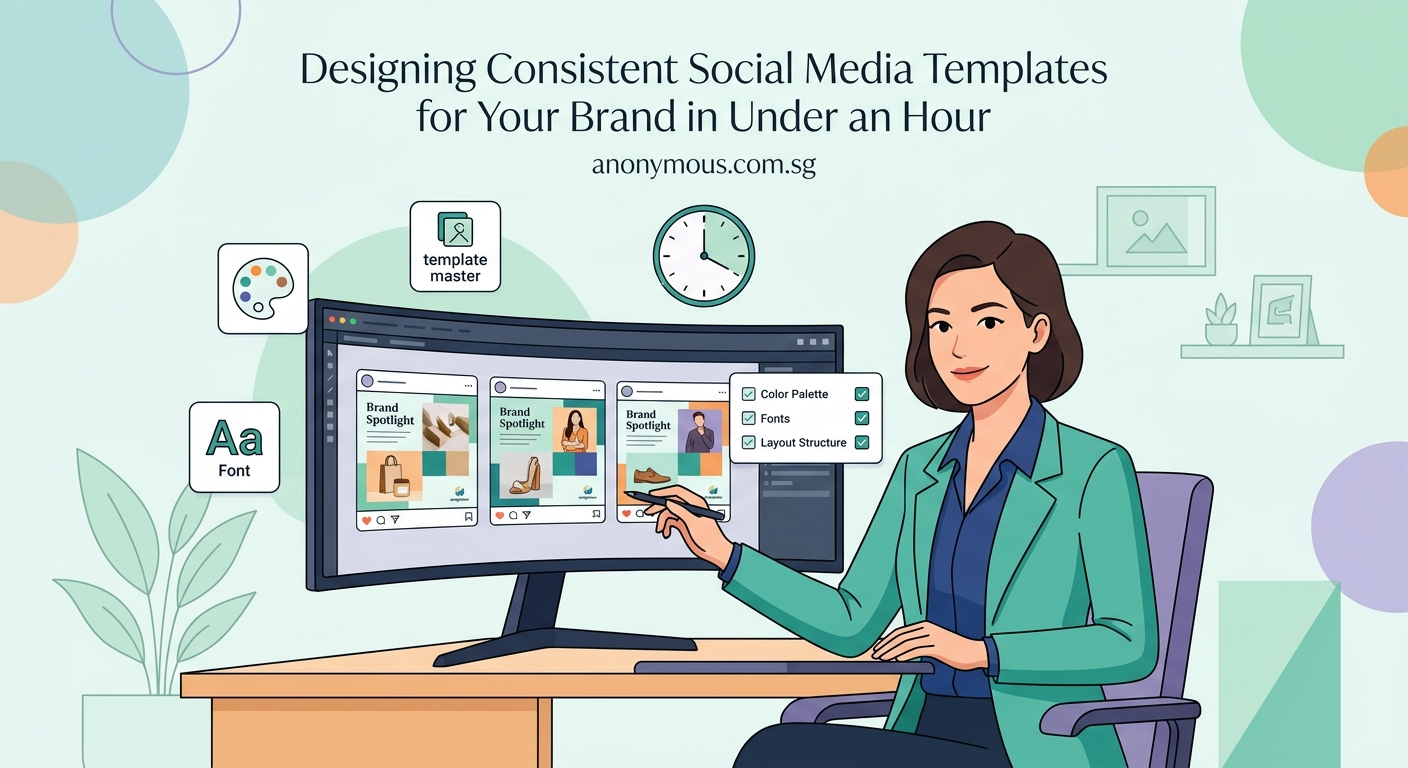
Social media templates give you a reusable design system that keeps your brand consistent while cutting creation time by 80%. This guide shows you exactly how to design templates that work across platforms, maintain visual cohesion, and adapt to different content types without requiring design expertise or expensive software.
Why templates matter more than you think
Templates aren’t about being lazy. They’re about being strategic.
When someone sees your post in their feed, they should recognize it’s yours before they even read the caption. That’s brand recognition. That’s what templates give you.
Most small businesses lose this advantage because every post looks different. Different colors. Different fonts. Different layouts. Your audience can’t build visual memory if you keep changing the recipe.
Templates solve three problems at once. They make you faster. They make you consistent. And they make you look professional, even if you’ve never taken a design class.
Gather your brand elements first
Before you build a single template, you need your ingredients ready.
Start with your logo. You need a version that works on light backgrounds and one for dark backgrounds. Save both as PNG files with transparent backgrounds.
Next, lock down your colors. Pick three to five colors maximum. One primary color that represents your brand. One or two secondary colors for variety. And neutral colors like white, black, or gray for text and backgrounds.
Write these down as hex codes. Not “blue” or “dark red.” Actual codes like #2C5F8D or #A83232. This ensures you use the exact same color every time.
For fonts, choose two. One for headlines. One for body text. If you’re using free tools like Canva, stick to fonts available in the platform. If you’re using professional software, make sure you have the proper licenses.
Document everything in one place. A simple Google Doc works fine. List your colors with their hex codes. List your fonts with their names. Add your logo files. This becomes your brand style guide that keeps everything aligned.
Choose the right canvas sizes
Different platforms need different dimensions. Getting this wrong means cropped images or blurry graphics.
Here are the sizes that matter most:
- Instagram feed post: 1080 x 1080 pixels (square)
- Instagram Story: 1080 x 1920 pixels (vertical)
- Facebook post: 1200 x 630 pixels (horizontal)
- LinkedIn post: 1200 x 627 pixels (horizontal)
- Twitter/X post: 1200 x 675 pixels (horizontal)
Create one template for each size you actually use. Don’t build templates for platforms where you never post.
Most design tools let you save custom dimensions. Set these up once. Name them clearly. “IG Feed” or “Story Template” works better than “Template 1.”
If you only have time to create one template, make it square at 1080 x 1080. This size works on Instagram, Facebook, and LinkedIn without major issues.
Build your master template structure

Start with your most common post type. For most businesses, that’s a text-based quote or tip.
Open your design tool and create a new project at 1080 x 1080 pixels. This becomes your master template that you’ll adapt for other formats later.
Add your background. Solid colors work better than photos for templates because they’re easier to read and more versatile. Use your primary brand color or a neutral like white or cream.
Place your logo. Top corner or bottom corner works best. Make it small enough that it doesn’t dominate but visible enough to be recognized. About 10-15% of the canvas width is a good starting point.
Create a text area in the center. This is where your main message goes. Use your headline font here. Make it large enough to read on a phone screen, around 60-80 pixels for this canvas size.
Add a smaller text area at the bottom. This is for your website or handle. Use your body font here at about 24-32 pixels.
Leave breathing room. Don’t fill every pixel. White space makes designs look professional and makes text easier to read.
Design variations for different content types
One template structure isn’t enough. You need variations for different purposes.
Create these five core variations:
- Text quote template: Large centered text with attribution
- Tip template: Numbered or bulleted list with a headline
- Announcement template: Bold headline with supporting details
- Photo template: Space for an image with text overlay
- Question template: Engagement post with a clear question
Each variation follows your base structure. Same colors. Same fonts. Same logo placement. But the layout adapts to the content type.
For the photo template, add a semi-transparent overlay behind your text. This ensures readability no matter what image you use. A black overlay at 40-60% opacity works for most situations.
For the tip template, use simple bullet points or numbers. Keep them aligned and consistent. Don’t get fancy with custom icons unless you’ll use them every time.
Save each variation as its own file. Name them clearly: “Brand_Quote_Template,” “Brand_Tip_Template,” etc.
Add visual consistency through repetition
Templates work because of repetition, not variety. Pick design elements and stick with them.
Choose one accent shape and use it everywhere. Maybe it’s a thin line under headlines. Maybe it’s a circle behind your logo. Maybe it’s rounded corners on text boxes.
Whatever you pick, use it consistently across all templates. This creates visual cohesion even when content changes.
Align elements the same way every time. If your logo sits 40 pixels from the top left corner in one template, put it 40 pixels from the top left in all templates.
Use the same spacing between elements. If there’s 30 pixels between your headline and body text in one design, use 30 pixels in all designs.
This might feel boring to you. You see these templates every day. But your audience sees them once in a crowded feed. Consistency helps them recognize you instantly.
Common template mistakes and how to avoid them
| Mistake | Why it fails | Better approach |
|---|---|---|
| Using too many fonts | Creates visual chaos and looks unprofessional | Stick to two fonts maximum across all templates |
| Inconsistent spacing | Makes designs feel sloppy and unfinished | Use a spacing system like 20px, 40px, 60px |
| Text too small | Unreadable on mobile devices where most people view content | Minimum 24px for body text, 60px+ for headlines |
| Busy backgrounds | Competes with text and reduces readability | Use solid colors or simple gradients |
| Ignoring platform specs | Results in cropped or distorted images | Design at exact platform dimensions |
| Too much information | Overwhelms viewers and reduces engagement | One main message per graphic |
The biggest mistake is making templates too complicated. Simple designs are easier to replicate, faster to customize, and more effective at communicating your message.
Set up your template library
Organization matters when you’re creating content regularly. A messy template library slows you down just as much as having no templates.
Create a dedicated folder on your computer or cloud storage. Name it something obvious like “Social Media Templates.”
Inside that folder, create subfolders by platform:
– Instagram
– Facebook
– LinkedIn
– Stories
Within each subfolder, save your template variations. Use consistent naming: Platform_ContentType_Version. For example: “IG_Quote_v1” or “FB_Announcement_v1.”
If you’re using Canva or similar tools, create a dedicated team or folder within the platform. Tag templates clearly so you can find them fast.
Keep a master file that shows all your templates on one page. This becomes your visual reference guide. When you need to create a post, you can see all options at a glance and pick the right one.
Make templates adaptable without losing consistency
Templates should be flexible enough to handle different content without breaking your brand.
Build in variation points where you can make changes:
– Background color can alternate between brand colors
– Text color can flip between light and dark for contrast
– Image placement can shift but stays within defined areas
Create color combinations that work together. If your primary color is dark blue, maybe some templates use dark blue backgrounds with white text, while others use white backgrounds with dark blue text.
Test each combination before you commit. Put them side by side. Do they still feel like they belong to the same brand? If someone saw three different templates in their feed over three days, would they connect them to your business?
When you’re working with photos, establish rules for how images get used. Maybe photos always have a colored overlay. Maybe they’re always cropped to circles. Maybe they only appear in specific zones of the template.
These rules prevent your templates from looking random while giving you room to adapt to different content needs.
Tools that make template design easier
You don’t need expensive software to create professional templates.
Canva is the most accessible option for beginners. It’s browser-based, has free and paid tiers, and includes templates you can customize. The Brand Kit feature (paid) lets you save colors and fonts for consistency.
For more control, try Figma. It’s free for individual use and gives you professional-grade design tools. The learning curve is steeper but worth it if you want pixel-perfect control.
Adobe Express (formerly Spark) sits between Canva and professional tools. It’s simpler than Photoshop but more powerful than Canva.
If you already use Adobe Creative Cloud, Photoshop or Illustrator give you the most flexibility. Save templates as PSD or AI files that you can open and edit repeatedly.
Whatever tool you choose, learn how to use layers, lock elements, and save templates properly. Most design mistakes come from not understanding the software, not from lacking design skills.
You might also want to explore alternatives to Canva if you’re looking for different features or pricing structures.
Create templates for different post formats
Beyond static images, you need templates for other content types.
Carousel posts on Instagram and LinkedIn perform well for educational content. Design a template with consistent header and footer sections, then create 5-10 slide variations that maintain the same style.
Each slide should follow the same structure:
– Headline at the top
– Main content in the center
– Slide number at the bottom
– Your logo or handle in the corner
For video templates, create simple intro and outro cards that bookend your video content. These don’t need to be animated. A static frame at the start and end with your branding works perfectly.
Story templates need vertical orientation and should account for profile pictures at the top and interaction buttons at the bottom. Keep important content in the middle 80% of the canvas.
If you create Instagram carousel posts regularly, having a template system speeds up production significantly.
Test your templates before committing
Before you build an entire library, test your designs in real conditions.
Post one template-based graphic to each platform you use. Check how it looks on mobile and desktop. Ask someone else to view it on their phone. Is the text readable? Does it catch attention?
Look at your template in context. View your Instagram grid. Do your posts create a cohesive look? Or do they clash with each other?
Post templates at different times and track engagement. Compare performance to your previous non-template posts. Templates should maintain or improve your engagement rates.
If something isn’t working, adjust it now before you create dozens of variations. Maybe text needs to be bigger. Maybe colors need more contrast. Maybe the layout feels cramped.
“The best template is the one you’ll actually use consistently. Don’t chase perfection. Chase usability.”
Maintain templates over time
Your templates aren’t set in stone. They should grow with your brand.
Every few months, review your templates. Are you still using all of them? Are some getting ignored? Cut the ones that don’t serve you.
When your brand evolves, update templates in batches. Change colors or fonts across all templates at once to maintain consistency.
Keep old versions archived. If you need to recreate an old post or reference past designs, you’ll want access to previous template versions.
As you create more content, you’ll notice patterns. Maybe you post tips every Tuesday. Create a dedicated template for that recurring content. Maybe you share client results monthly. Build a testimonial template.
Templates should make your life easier, not create more work. If maintaining them becomes a burden, simplify your system.
Scale your template system as you grow
Start small. Three to five core templates handle most needs when you’re beginning.
As you post more consistently and understand what content performs best, expand your library. Add templates for seasonal content, product launches, or special series.
If you work with a team, document how to use templates. Create a simple guide that shows which template to use for which content type. Include examples of good customization and common mistakes.
Consider creating templates for your entire brand system, not just social media. Email headers, presentation slides, and print materials can all benefit from template thinking.
When you’re ready to batch content, templates become even more valuable. You can create a month of graphics in one focused session because you’re not making design decisions every time.
Turn templates into a content system
Templates work best as part of a larger system.
Pair your visual templates with content categories. Maybe you have five content pillars for your business: education, inspiration, promotion, engagement, and behind-the-scenes.
Assign specific template styles to specific content types. Education posts always use your tip template. Inspiration posts use your quote template. This creates predictability that your audience appreciates.
Plan your content calendar around your templates. If you know you need two education posts and one engagement post this week, you already know which templates to grab.
Store caption templates alongside your visual templates. When you open your tip template, have a caption structure ready: “Here’s what most people get wrong about [topic]…” This speeds up the entire content creation process.
Consider how your templates support your overall brand consistency across different platforms and touchpoints.
Your templates are ready to work
You now have everything you need to build a template system that saves time and strengthens your brand.
Start with one platform and three core templates. Use them for two weeks. Adjust what doesn’t work. Then expand to other platforms and content types.
Remember that templates aren’t about limiting creativity. They’re about channeling it efficiently. You’re still making creative decisions about messaging, imagery, and strategy. You’re just not reinventing the visual wheel every single time.
The businesses with the strongest social media presence aren’t the ones with the fanciest designs. They’re the ones that show up consistently with a recognizable look. Templates make that possible without burning out.
Build your first template today. Use it tomorrow. Refine it next week. Before you know it, you’ll have a system that makes content creation feel effortless instead of exhausting.